How to Order Dedicated Nodes
Dedicated Nodes can be ordered directly from the developer portal on the Dedicated Nodes tab.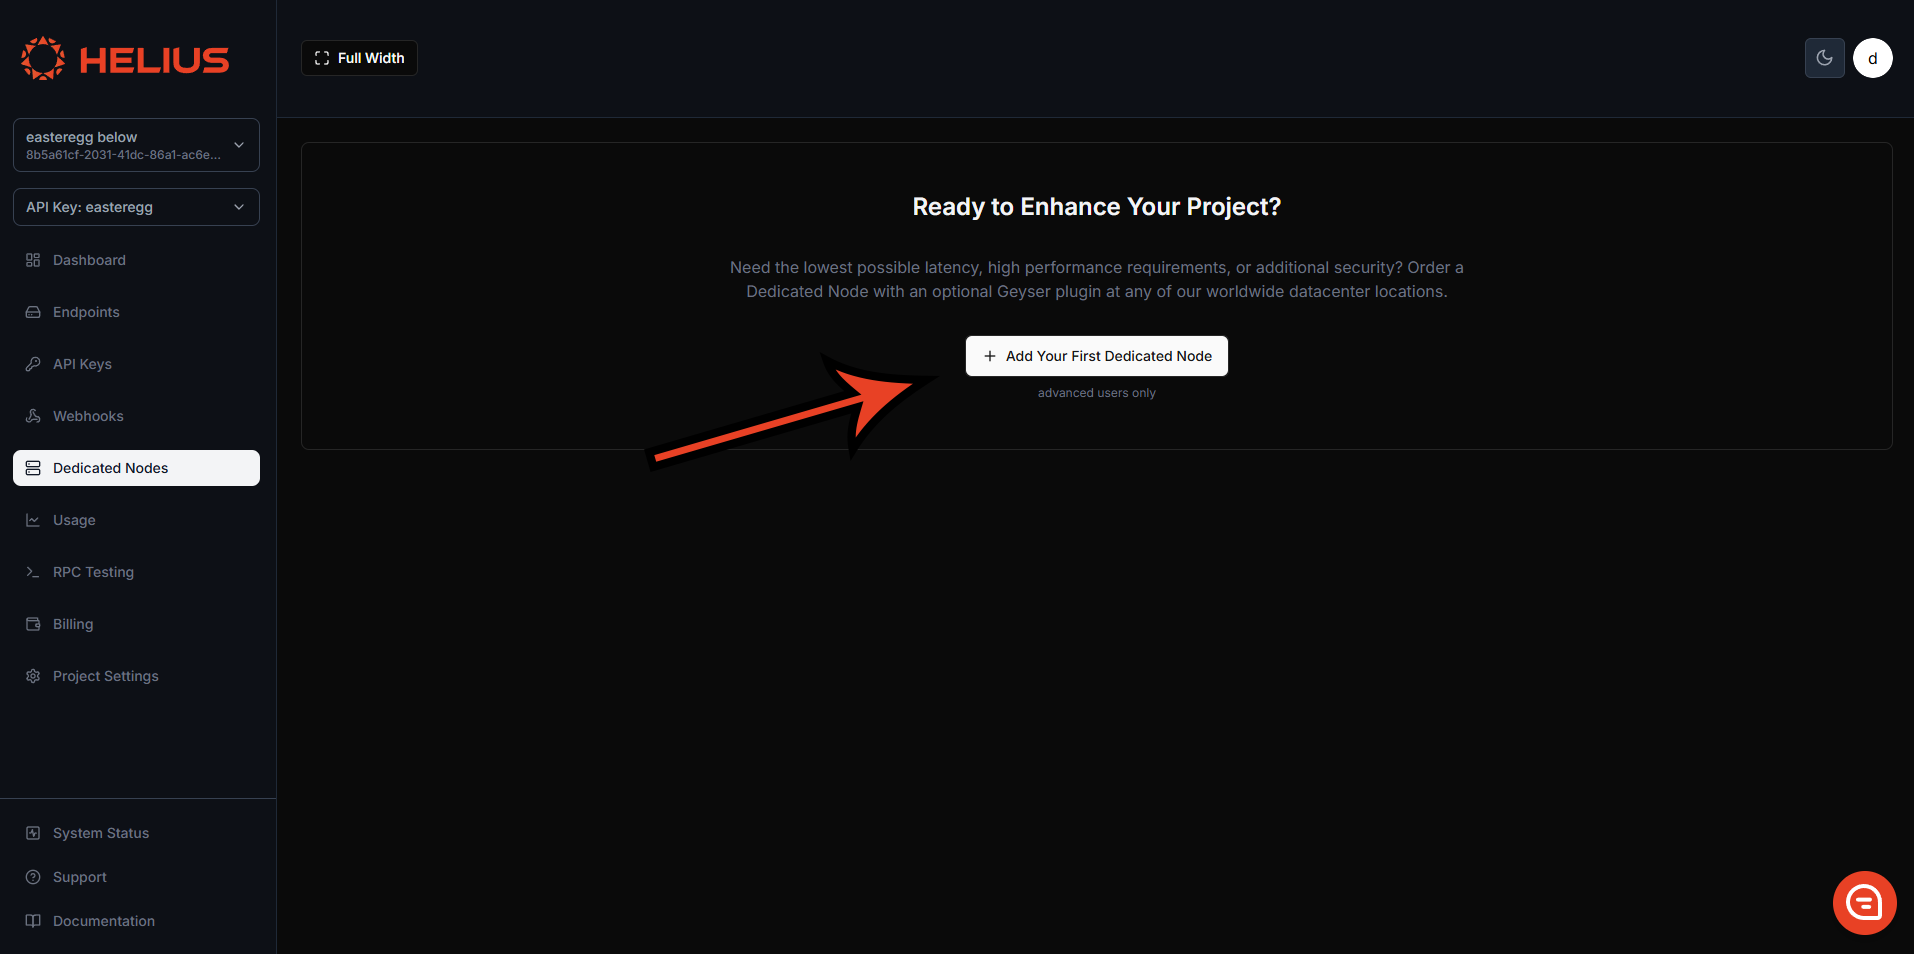
Order a dedicated node from your Helius dashboard
Node Type
The type of node you choose depends on your requirements. Since we don’t impose any rate limits, your node’s performance will rely entirely on its specifications. For gRPC streaming applications (primary use case), any node type will perform well.
Choose your dedicated node's type and location
Node Location
We offer nodes across multiple regions: in North America (Pittsburgh, Newark, Salt Lake City, Los Angeles, Vancouver); in Europe (Dublin, London, Amsterdam, Frankfurt); and in Asia (Tokyo, Singapore) to ensure the best geographic coverage with the global Solana infrastructure. For optimal latency, choose a node closest to your server. Your node will be deployed within three hours of payment.Node Client
You can customize your node by selecting the client type — either Agave or Jito Labs (fork of Agave with an additional methodsimulateBundle)
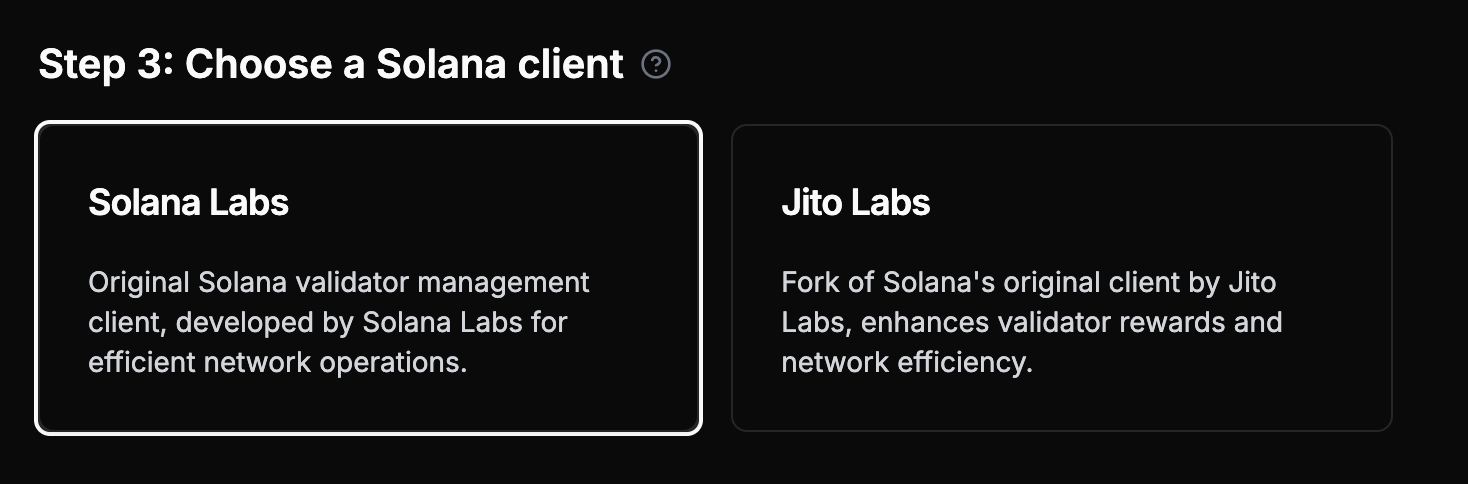
Select your dedicated node's client type
Dedicated nodes cannot send Jito Bundles on their own. To send Jito Bundles, you must use the Jito API, which handles packaging and sending the bundles through Jito’s system.
Geyser Plugin (Recommended)
We strongly recommend adding the Yellowstone Geyser Plugin, which is the primary use case for dedicated nodes. It provides high-performance gRPC streaming of slots, blocks, transactions, and account updates.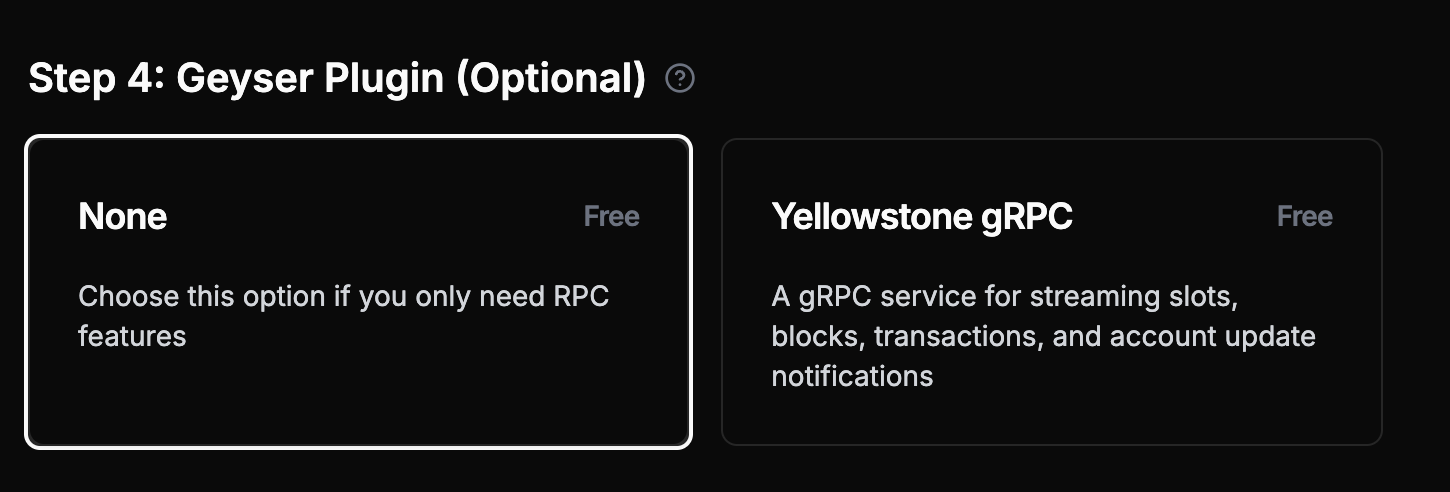
Select the Yellowstone gRPC Geyser Plugin (Recommended)
Best Practice: Dedicated nodes are optimized for gRPC streaming. Use your shared plan for transaction submission, archival queries, and complex RPC operations.
Payment Options
You can pay via fiat or crypto (USDC). Once your payment goes through, your node will be deployed within 3 hours. For billing, fiat payments will receive a discount on the next month’s bill for the number of days it took to provision the node. For crypto payments, the billing cycle starts once the node is delivered.Demo
Getting Started
Once you have your Dedicated Node set up and ready (status: Succeeded), you can start working with it.Connecting to your dedicated node
gRPC Streaming (Primary Use Case)
Dedicated nodes are optimized for gRPC streaming via the Yellowstone Geyser Plugin. This is the primary and recommended way to use your dedicated node.Consider LaserStream for gRPC Streaming: LaserStream offers superior performance, reliability, and advanced features like 24-hour historical replay for gRPC streaming. It’s recommended for 99% of streaming use cases. Compare LaserStream vs Dedicated Nodes to evaluate the best solution for your needs, or get started with LaserStream from your Helius Dashboard.
Basic RPC and Websocket (Limited Functionality)
Each dedicated node also provides basic RPC functionality, but with limitations. For production applications, combine dedicated nodes with a shared plan. Here we are using Solana web3.js to callgetSlot using our dedicated node:
Set up your Geyser Plugin
To begin using the Geyser plugin you need to clone the Yellowstone repo:Using the CLI
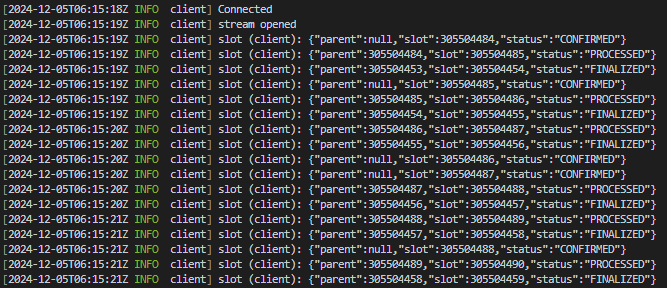
Terminal output of new slots
TypeScript Example
This example streams all Raydium transactions live in JSON format: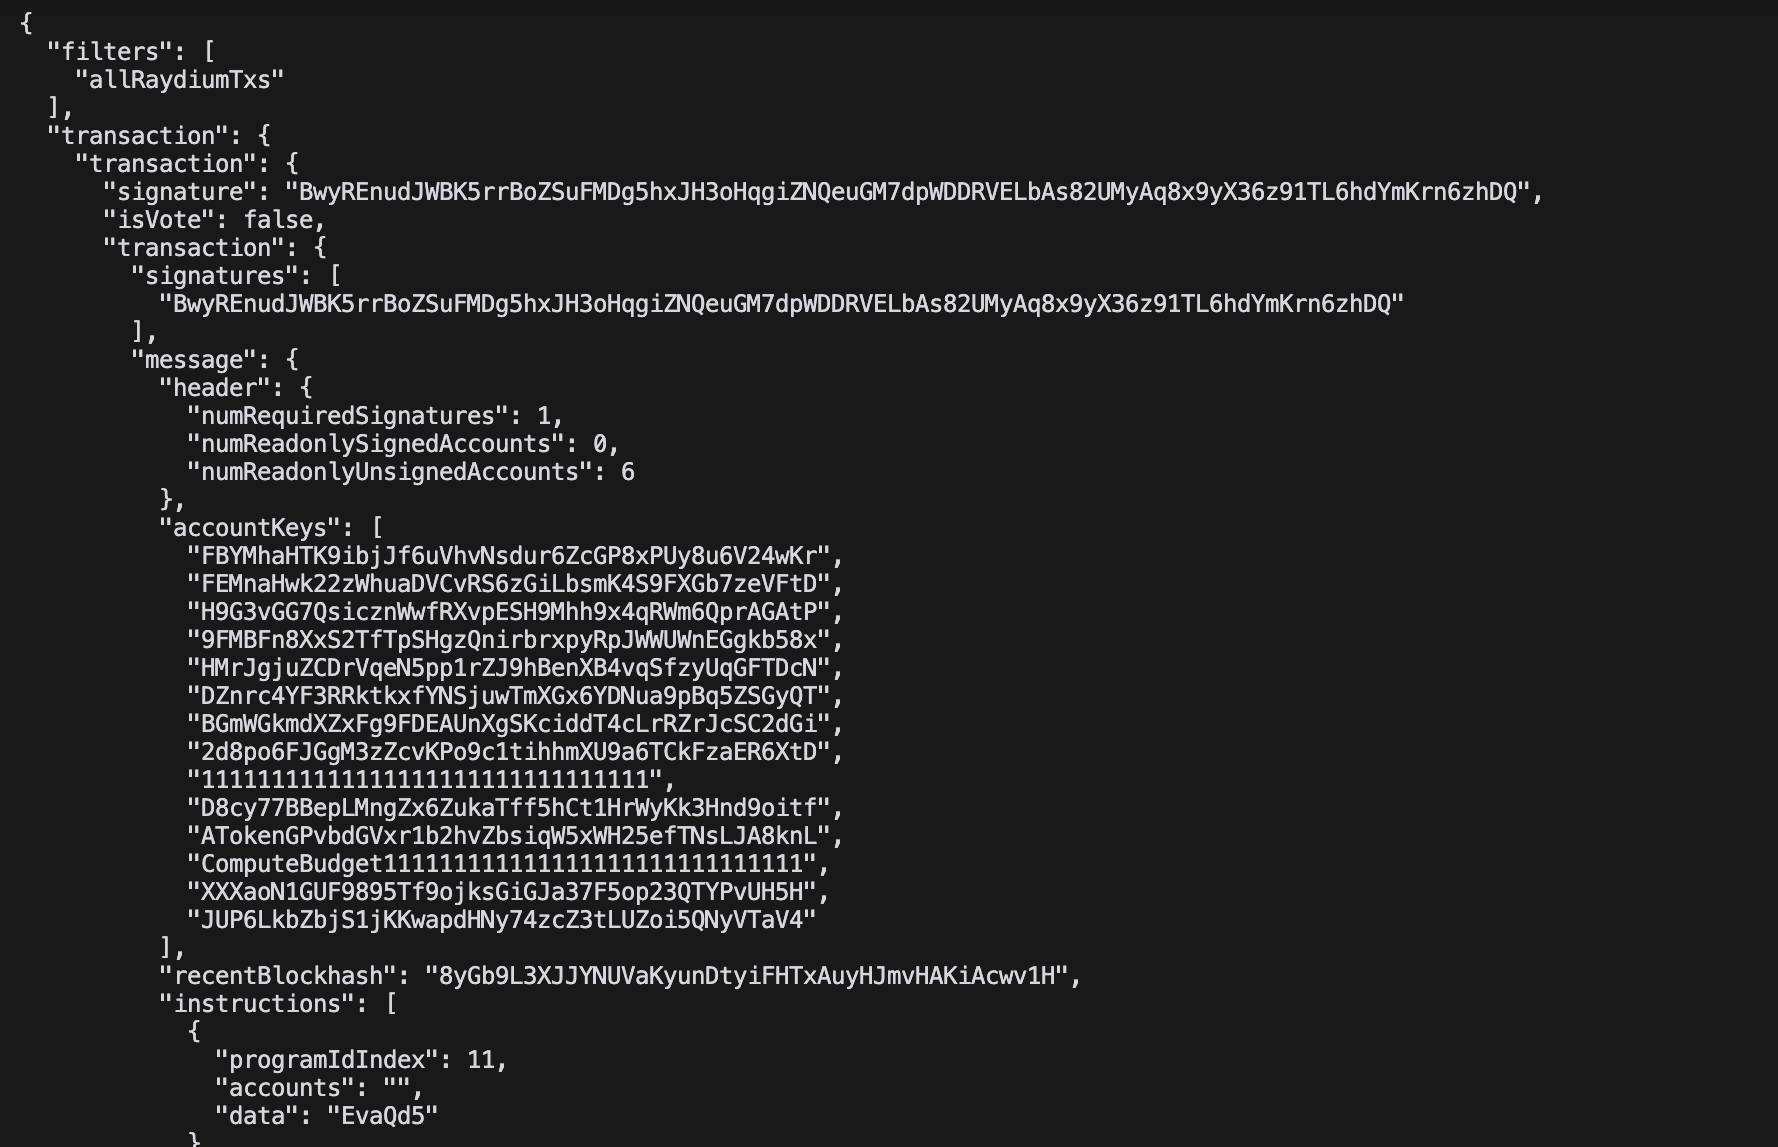
Example output of a partial Raydium transaction