
Publishing Solana Mobile Apps: A How To Guide
Introduction
App stores have never been friendly to crypto app publishers. Apple App Store guidelines prohibit using cryptocurrency for in-app purchases and impose a 30% commission rate on payments through Apple. Developers are further restricted by the ban on in-app incentives fulfilled through blockchain. These factors cause few independent developers to launch mobile dApps. The Solana Saga disrupts the mobile dApp industry by introducing the dApp store – A fee-free decentralized app store that allows microtransactions without restrictive policies. Solana Mobile offers developers the opportunity to build dApps and publish to the dApp store without the friction and costs associated with traditional app stores.
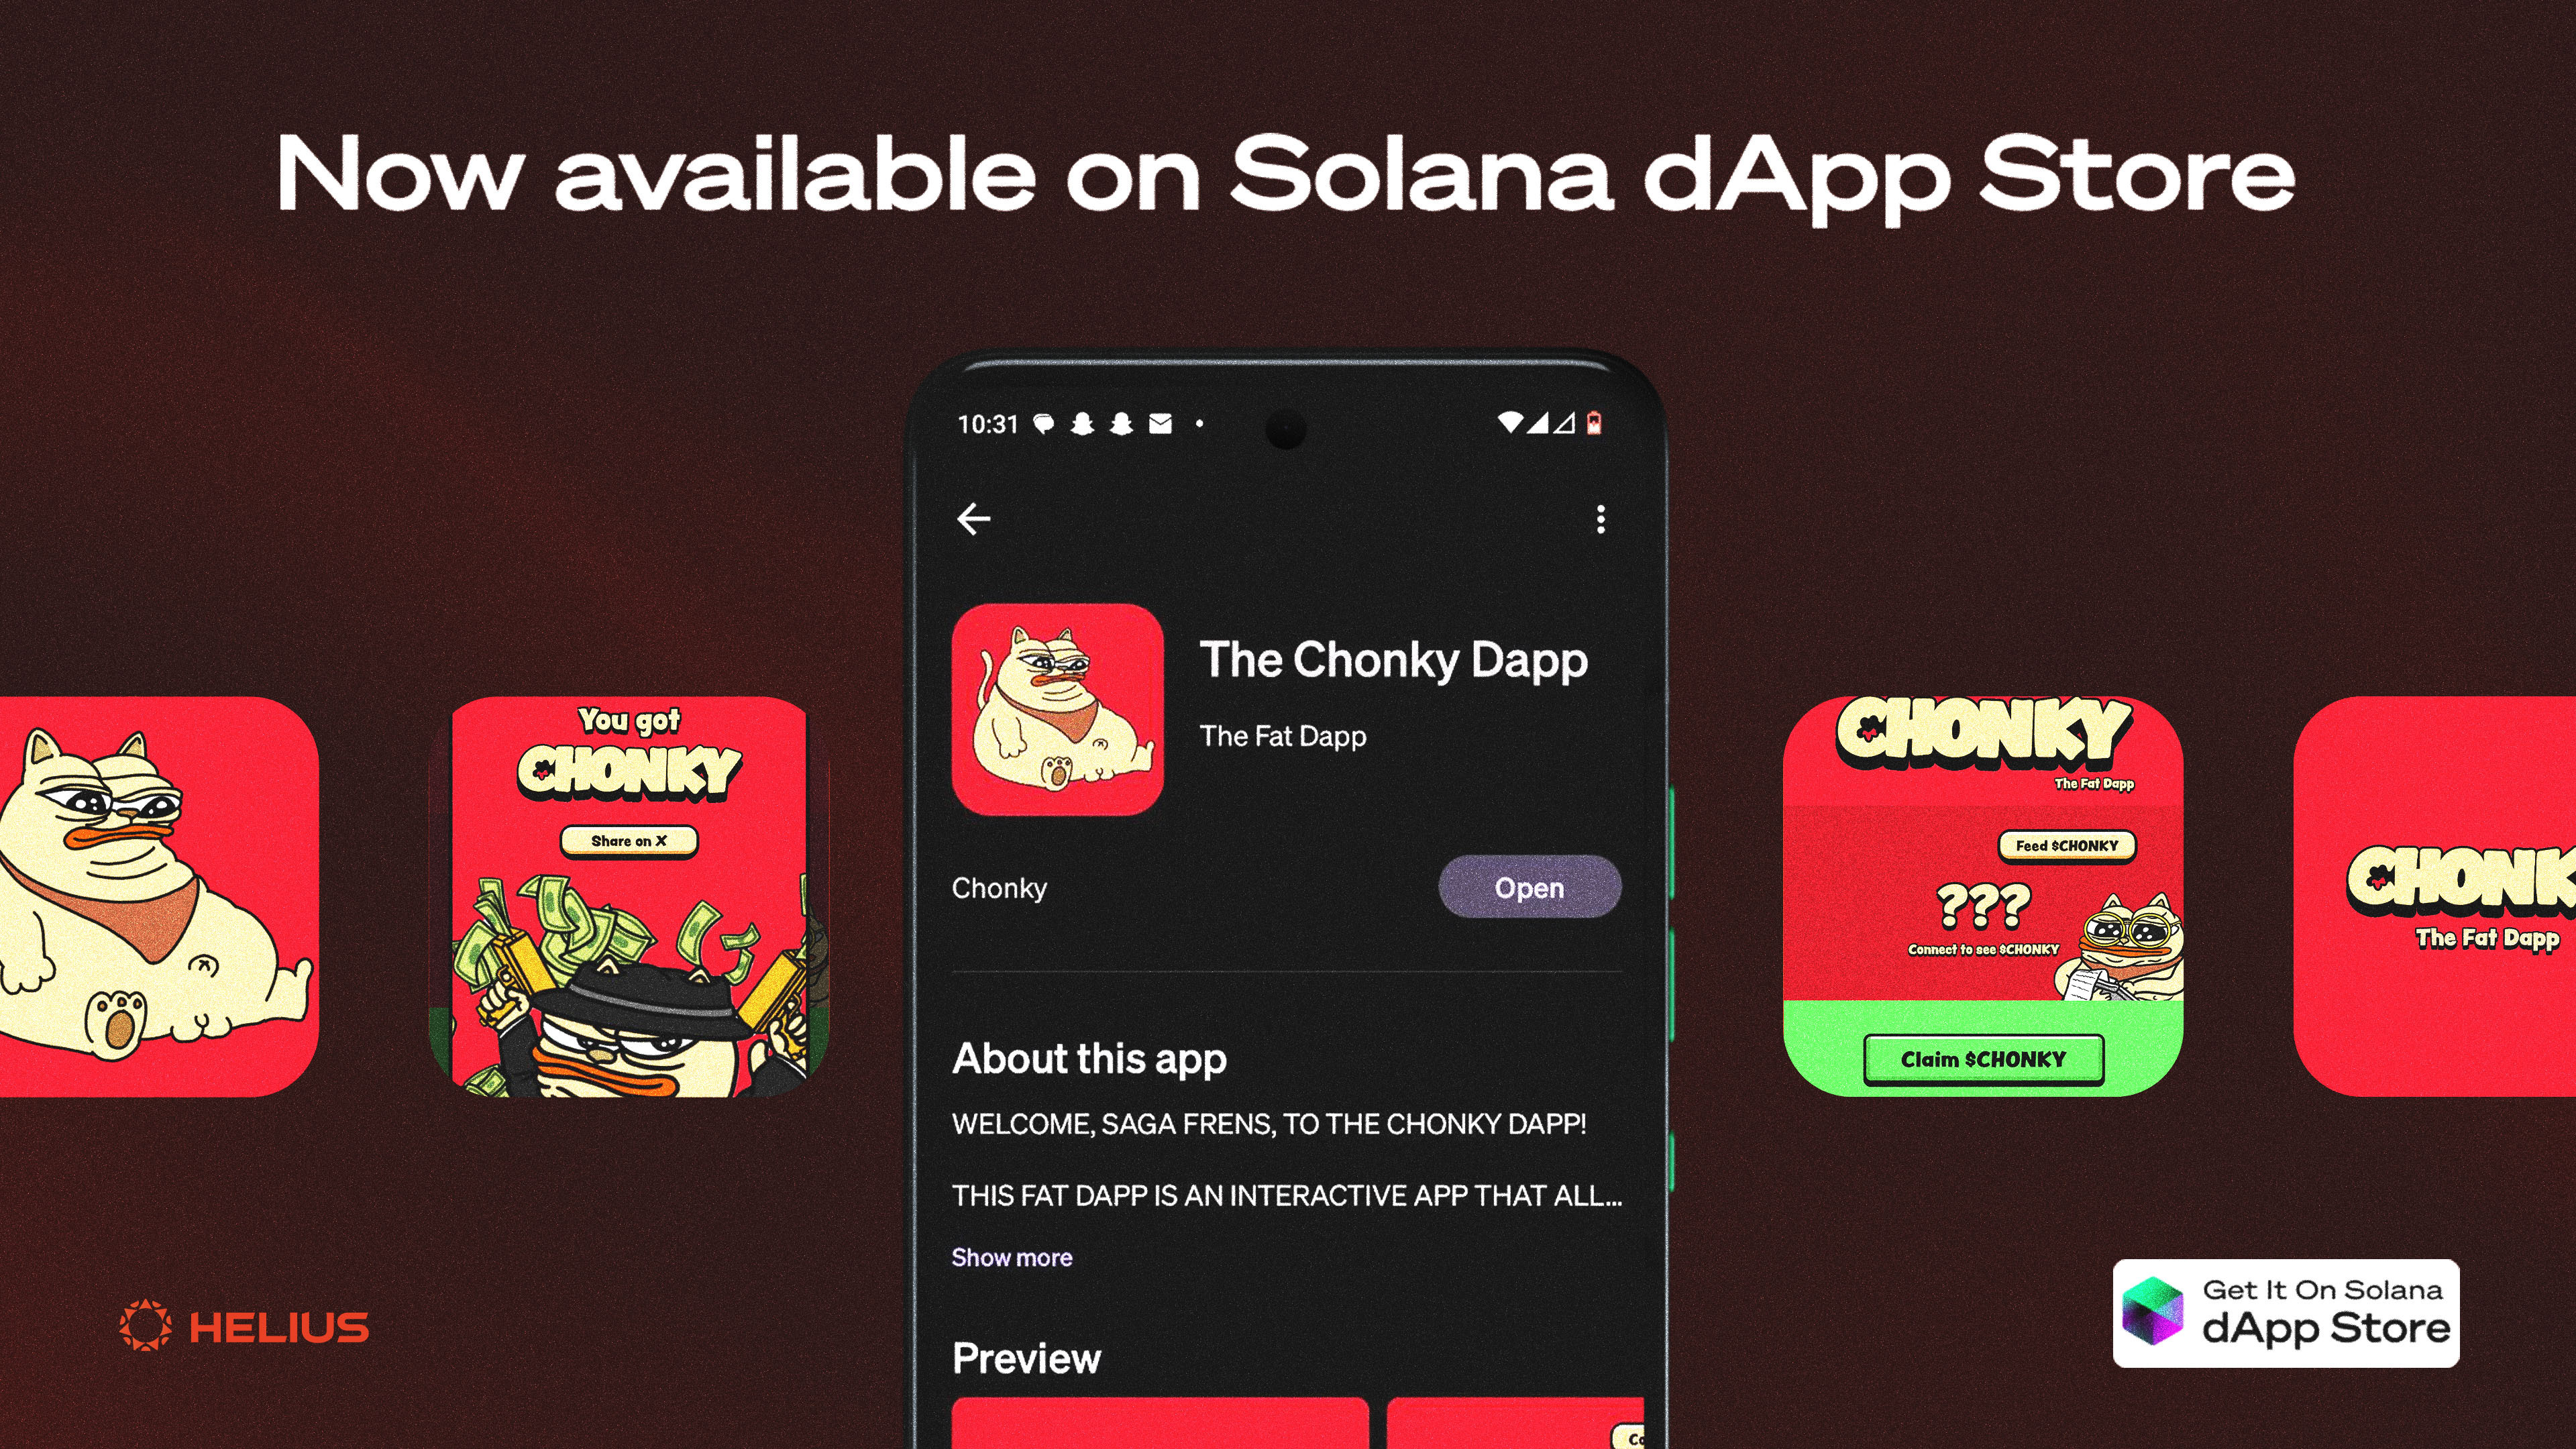
Meanwhile, users continue to reap rewards and enjoy unique Saga perks. A brand new dApp has been published to the dApp store – The Chonky dApp. The dApp, powered by Helius, was downloaded by 7,500+ unique devices from the dApp store within the first twelve hours. Only available on the dApp store, the Chonky dApp allows users to claim a share of Chonky when connecting with a Saga Genesis wallet.
Publishing to the dApp store in under a week, this guide was tried and tested by Chonky. Learn the process of publishing a Solana Mobile dApp, from material preparation to submitting to the dApp store. This guide aims to help developers understand the requirements of the publishing process and estimate a timeline for setting reasonable publishing expectations.
Materials
Follow the guide and collect the required materials for publishing, with the goal of generating a release-ready Android Package Kit (APK). The following is a checklist of necessary materials to gather and prepare for the publishing steps.
Checklist
- Release-ready build
- Android Build Tools
- Version information
- Error reporting tools like Sentry
- dApp and dApp store assets
- Helius RPC URL
- App Signing Key
- Publisher Key
- Terms & Agreements
- License
- Privacy Policy
- Copyright
When publishing to app stores, there are terms and conditions for the publisher and consumer. This is important for the protection of users and limiting liability for publishers. Solana dApp store publishers agree to the publisher policy, dApp publishing agreement, and dApp store terms of use before publishing.
An end-user license agreement (EULA), privacy policy, and copyright must be provided by the publisher in the publishing process. As the developer, obtain these documents and make them available online – links to the documents will be required in the publishing process. Check out resources such as privacy policy generators, sample copyright notice, or use ChatGPT to generate the documents.
Preparation
Preparing a dApp for launch starts with a build configured for release.
First, clean up the repository. Remove console logs and use error reporting tools to monitor the dApp. Environment variables also need to be reviewed and updated for the production environment. Do not put secret keys in the .env file!
Next, ensure that all assets are the correct size and unnecessary files are removed. For preview images to the dApp store, they need to be 1080p resolution (1920px by 1080px) and be all horizontal or vertical. For dApp store icons, the max size is 512x512px, and the file must be a square.
When publishing to the dApp store, a Solana keypair is required. Generate a new keypair with solana-keygen and fund with Solana for later. Keep this keypair secure. Otherwise, anyone with the keypair will be able to submit subsequent releases of the dApp to the dApp store.
When apps are built for release, an app key must sign the build. New apps require fresh signing keys; please do not use the same key as debug. Like the publishing key, anyone can update the app with the app key. Open a terminal and paste the following command to generate the app-signing key using keystore.
Create release-key.keystore and storePassword (also serves as keyPassword) in the current directory. Use the following code example to create the release signingConfigs and buildTypes in build.gradle.
In the same file, set the locale(s) of the app and update the versionCode and versionName. This is the last time to change applicationId.
With the release signing configured, the dApp is ready to build for production. In the dApp directory, run the following command to clean up duplicate resources from debug and assemble for release. If successful, the command will generate an APK in the /android/app/build/outputs/apk folder.
Publishing Steps
Publishing to the dApp store requires using the store’s CLI tools. This section is a summary of the set-up steps from Solana Mobile to publish on the dApp store:
- Install the dApp store CLI tools.
- Create and validate config.yaml.
- Mint the App, Publisher, and Release NFTs.
- Submit and publish.
In the publishing directory, run the following commands:
The initialize command will create a config.yaml file. This is used to configure how the dApp will appear in the dApp store. There are three sections to fill out: publisher, app, and release. These sections all have an address field which should be left blank for the initial release. The publishing steps will create NFTs for each section and update addresses automatically. This is a blank reference of config.yaml, and a pre-populated version can be found from the dapp-publishing GitHub.
The release section can be modified for new updates to the app. Populate the media fields to display preview images and icons in the dApp store. The path to the APK needs to be provided for installing the file. Place these files in the publishing repository and provide the relative paths as their URI. The descriptions of the app can be edited in the catalog, and fields like google_store_package, saga_features are optional.
Once config.yaml is populated, check the validity of the publication using the following command with the path to the Solana keypair and Android Build Tools. If Android Build Tools are installed with Android Studio, the path can be found by opening Android Studio, clicking on the Tools dropdown and selecting SDK Manager. Navigate to the SDK Tools tab and click on Android_SDK_Build_Tools 34 to show the path to the build tools. The path should look like this: C:\Users\user\AppData\Local\Android\Sdk.
To publish to the dApp store, NFTs are created for each section of the config.yaml.
Begin by creating the Publisher NFT. This is a one-time operation, meaning this step is unnecessary for later releases. Replace the mainnet_beta_rpc_url with a Helius RPC URL.
The App NFT creation is also a one-time command. This command will create the App NFT and record the mint address in config.yaml.
Use the following command to create the Release NFT. A new release NFT must be created when a new release is submitted to the dApp store. The mint address is automatically updated every time the command is run.
When all three NFTs are successfully created, the app is ready to be submitted to the dApp store. Publish with the below command and pass in the --requestor-is-authorized --complies-with-solana-dApp-store-policies flags to acknowledge compliance.
Once the dApp is submitted to the dApp store, the Solana Mobile team will get in touch with the email address used in the publisher section. Alternatively, get in touch with the Solana Mobile team in the #dapp store channel. The typical review timelines are two to three days for new app submissions and one day for updates.
Launch After-thoughts
The feat of publishing to the dApp store may be intimidating for a first-time publisher, but with the right tools, the process can be made simple. On the Chonky dApp launch, besides mobile hiccups like wallet modals not working on low/battery saving modes and impatient users canceling the sign request, Saga users were able to claim the airdrop on their first try. Error logging proves its importance once the dApp is out, monitoring errors in real-time and recording user behavior. Get important usage information by utilizing logging tools. At the moment, Solana Mobile does not collect any data like views and app downloads, so it’s up to the developer to implement appropriate logging in their app.
To go mobile is to put the user first. From UX design to signing workflows, mobile developers optimize for a seamless integrated experience in browsing digital interfaces. In a world where attention is scarce, apps aim to occupy a spot on the user’s home screen. Due to restrictive publishing policies on popular app stores, few apps succeed in bringing rewarding crypto applications to mobile. Solana’s blockchain technology enables users to be rewarded en mass, and Solana Mobile is well-positioned to be at the forefront of how people interact with crypto-native applications. With Saga Chapter 2 on the horizon of 2025, now is the perfect opportunity to build dApps for the Solana dApp store.
If the recipe is inspiration for cooking up a unique dApp, subscribe to the Helius blog and check out articles on Solana developer education. Own a Saga and want to start developing with the Solana Mobile Stack? The Token-Gating on Solana Mobile tutorial is great to follow along for first-time Android developers familiar with Typescript. Join the Helius Hacker Society on Discord and stay in touch for more mobile developer content on Solana. Helius is here to assi with any questions on the Helius Forum.
Additional Resources
- Android mobile development setup
- Mobile Wallet Adapter reference
- Solana SDK for React Native
- Mobile dApp architecture
- Prepare your app for release
- Android Studio
- Solana Mobile dApp publishing GitHub repository
- Solana Mobile dApp publishing documentation
- dApp store publishing specs
- Solana Mobile Discord
